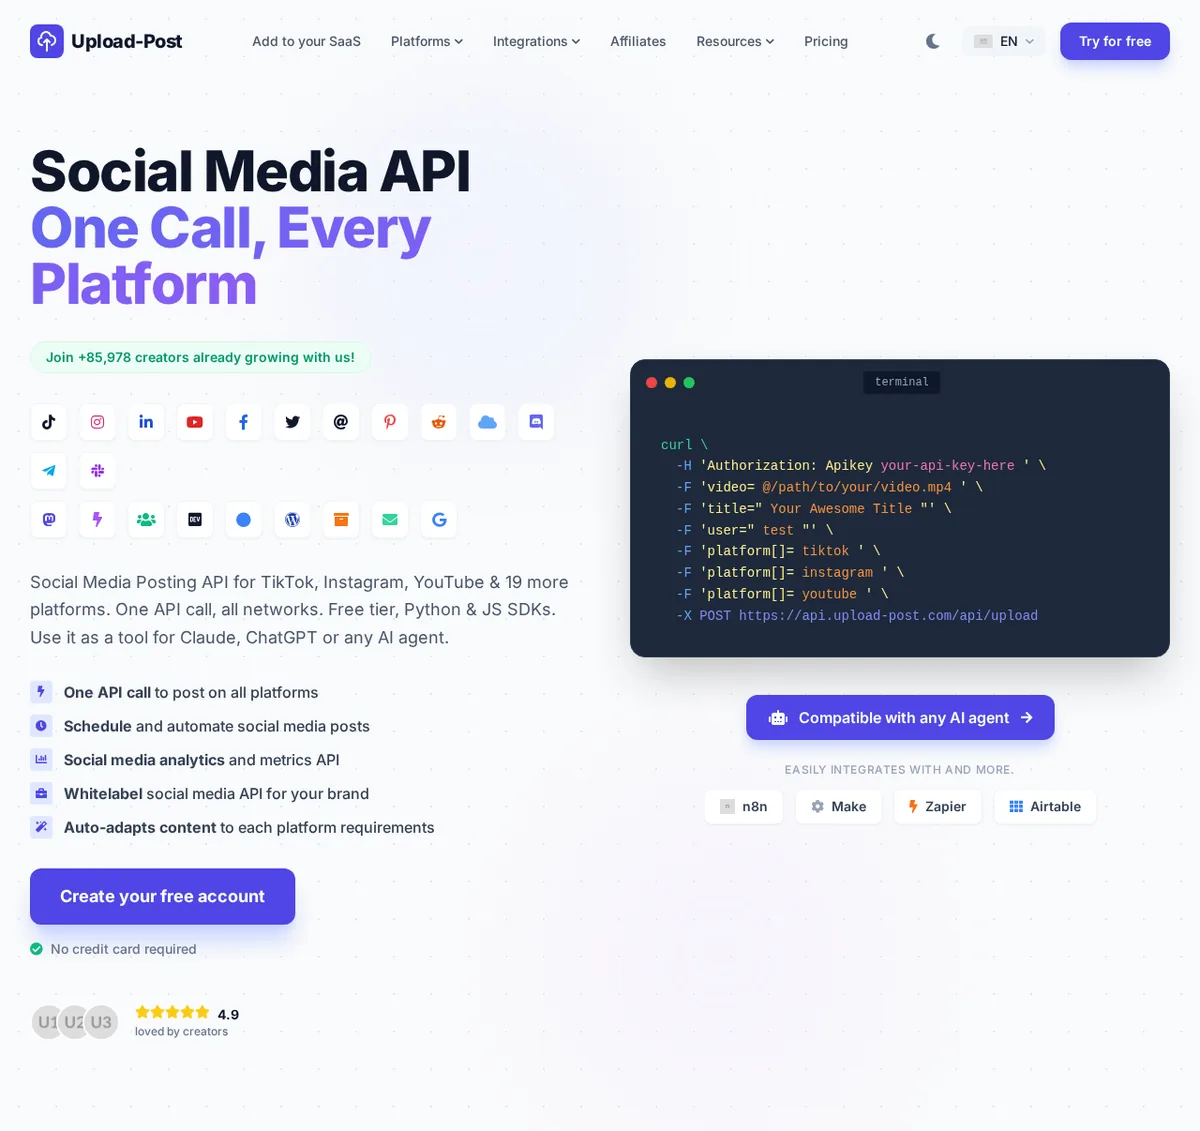
A screenshot of a live landing page

What it got right
- The navigation, with the dropdown carets, the dark-mode button, the language picker and the Try for free button.
- The two-colour headline, the green counter badge, the feature list with its small icons and the Create your free account button.
- The terminal window with all eight lines of the curl command, as real text you can edit, not an image.
- Recognisable brand icons from Font Awesome for TikTok, Instagram, LinkedIn, YouTube, Facebook, Pinterest, Reddit, Discord, Telegram, Slack, Mastodon, WordPress, DEV and Google.
What to fix by hand
- Brands that Font Awesome 5 does not have were approximated: X shows the old Twitter bird, Threads an @ sign and Bluesky a cloud. Drop in the official SVGs.
- The user avatars and the flag became placehold.co placeholders (U1, U2, U3).
- The icons wrap into three rows instead of two and the hero sits a little lower than in the original, so spacing needs a pass.
upload-post-screenshot.html (first lines of the body)
 <body class="text-slate-900">
  <!-- Navigation -->
  <nav class="max-w-7xl mx-auto px-4 sm:px-6 lg:px-8 py-6 flex items-center justify-between">
   <div class="flex items-center gap-2">
    <div class="bg-indigo-600 p-1.5 rounded-lg">
     <svg class="w-6 h-6 text-white" fill="none" stroke="currentColor" viewbox="0 0 24 24" xmlns="http://www.w3.org/2000/svg">
      <path d="M7 16a4 4 0 01-.88-7.903A5 5 0 1115.9 6L16 6a5 5 0 011 9.9M15 13l-3-3m0 0l-3 3m3-3v12" stroke-linecap="round" stroke-linejoin="round" stroke-width="2">
      </path>
     </svg>
    </div>
    <span class="text-xl font-extrabold tracking-tight">
     Upload-Post
    </span>
   </div>
   <div class="hidden md:flex items-center space-x-8 text-sm font-medium text-slate-600">
    <a class="hover:text-indigo-600" href="#">
     Add to your SaaS
    </a>
    <div class="flex items-center gap-1 cursor-pointer hover:text-indigo-600">
     Platforms
     <i class="fas fa-chevron-down text-[10px]">
     </i>
    </div>
    <div class="flex items-center gap-1 cursor-pointer hover:text-indigo-600">
     Integrations
     <i class="fas fa-chevron-down text-[10px]">