Html Code For A Web Music Player
Create your own HTML web music player with our comprehensive guide! Learn to build, style, and enhance functionalities for an engaging user experience.
Introduction
Ever seen a cool web music player and thought, "I wish I could make that"? Whether you're just starting out in web development, love music, or just enjoy DIY projects, building your own web music player can be a blast. But where do you begin?
In this guide, we're gonna dive into the nitty-gritty of creating an HTML Web Music Player. We'll cover everything from the basics to the advanced stuff. So grab your headphones, and let's get started!
Understanding Web Music Players

Before we jump into coding, let's talk about what a web music player actually is. Basically, it's a thing on a website that lets you play, pause, skip, and control music. You've probably seen them on sites like Spotify , SoundCloud , or even on blogs showcasing an artist's work.
Key Parts of a Web Music Player:
- Audio Files: The actual music, usually in MP3, WAV, or OGG format.
- HTML Structure: The bones of the player, including buttons and sliders.
- CSS Styling: The pretty stuff that makes it look good.
- JavaScript Functionality: The brains that make it work when you click things.
Understanding these parts will help you create a player that looks good and works well.
Why an HTML Web Music Player Matters
You might be thinking, "Why bother making a web music player?" Good question!
Keeping Users Engaged
A well-designed music player can keep people on your site longer. It encourages them to explore more and might even lead to more sales if you're selling music-related stuff.
Showing Off Musical Talent
For musicians and bands, having a music player right on your website lets fans listen to your tracks without leaving. It's a smooth experience that keeps your audience connected to your content.
Learning and Improving Skills
For developers, building a web music player is a great way to get better at HTML, CSS, and JavaScript. It's a practical project that combines different parts of web development, giving you something cool to show off in your portfolio.
Must-Have Features for a Web Music Player
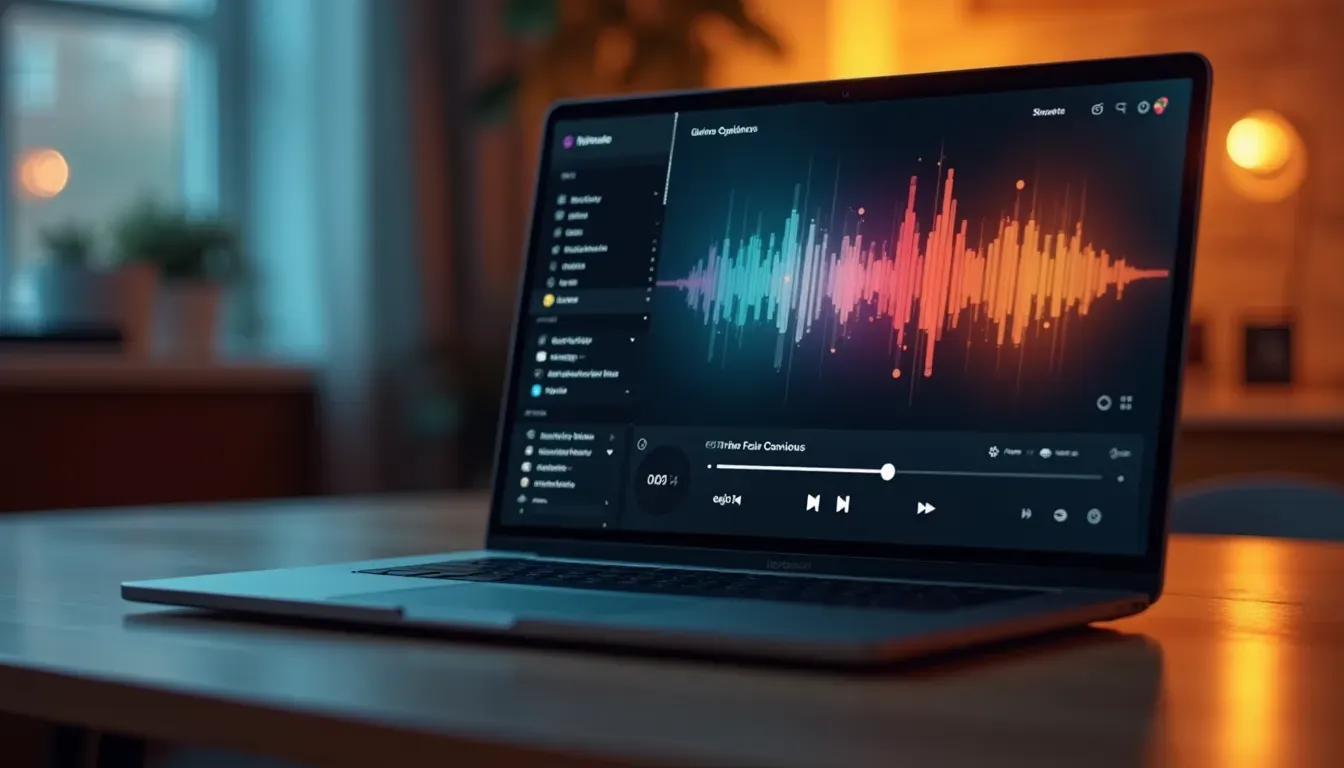
Making a basic music player is pretty straightforward, but adding the right features can make yours stand out. Here are some key features to think about:
- Play/Pause Button: The most basic feature, letting users start and stop the music.
- Track List: A list of songs users can choose from, maybe with song names, artists, and how long each track is.
- Volume Control: Lets users adjust how loud the music is.
- Progress Bar: Shows where you are in the song and lets users skip to different parts.
- Skip Forward/Backward: Buttons to move between tracks or jump around in a song.
- Shuffle and Repeat: Options to mix up the order of songs or repeat the current track or playlist.
- Responsive Design: Makes sure the player looks and works well on all devices, from computers to phones.
Building Your Own Web Music Player: Step-by-Step
Alright, let's roll up our sleeves and actually build a simple but functional web music player. We'll break it down into three main parts: HTML Structure, CSS Styling, and JavaScript Functionality.
Setting Up the HTML Structure

Think of HTML as the skeleton of your music player. It defines where everything goes. Here's a basic structure to get you started:
<div class="player">
    <div class="track-info">
        <span class="title">Song Title</span>
        <span class="artist">Artist Name</span>
    </div>
    <audio id="audio" src="path/to/song.mp3"></audio>
    <div class="controls">
        <button id="prev">Previous</button>
        <button id="play">Play</button>
        <button id="next">Next</button>
    </div>
    <input type="range" id="progress" value="0" max="100">
    <input type="range" id="volume" value="100" max="100">
</div>
Breaking Down the HTML Structure:
- Container (.player): Holds all the parts of the music player.
- Track Information: Shows the current song's title and artist.
- Audio Element: The actual music file.
- Controls: Play/Pause, Previous, and Next buttons.
- Progress Bar: Shows how far along the song is and lets users skip around.
- Volume Control: Adjusts how loud the music is.
Making It Look Good with CSS
Now that we've got the structure, let's make it look nice. Here's some simple CSS to style our player:
.player {
    display: flex;
    flex-direction: column;
    align-items: center;
    width: 300px;
    margin: auto;
}

.track-info {
    text-align: center;
    margin-bottom: 10px;
}

.controls button {
    margin: 0 5px;
    padding: 10px;
}

input[type="range"] {
    width: 100%;
    margin: 10px 0;
}
Styling Highlights:
- Responsive Design: The player is centered and adjusts to different screen sizes.
- Looks Good: Clean colors and simple fonts make the player visually appealing.
- Interactive: Buttons change when you hover over them, making it more user-friendly.
Adding Interactivity with JavaScript
With the structure and style in place, let's make it actually do something. Here's a basic JavaScript setup:
const playButton = document.getElementById('play');
const audio = document.getElementById('audio');
const progress = document.getElementById('progress');

playButton.addEventListener('click', () => {
    if (audio.paused) {
        audio.play();
        playButton.textContent = 'Pause';
    } else {
        audio.pause();
        playButton.textContent = 'Play';
    }
});

audio.addEventListener('timeupdate', () => {
    const percent = (audio.currentTime / audio.duration) * 100;
    progress.value = percent;
});

progress.addEventListener('input', () => {
    const time = (progress.value / 100) * audio.duration;
    audio.currentTime = time;
});
JavaScript Highlights:
- Play/Pause Function: Lets you start and stop the music.
- Progress Bar Sync: Updates the seek bar in real-time as the music plays.
- Seeking: Allows users to jump to different parts of the song by interacting with the seek bar.
- Volume Control: Lets users adjust how loud the music is.
- Time Formatting: Shows the current time and total length of the song in a way that's easy to read.
Note: The "Previous" and "Next" buttons are just placeholders in this basic setup. To make them work, you'd need to manage a playlist and update the audio source accordingly.
What's New in Web Music Players
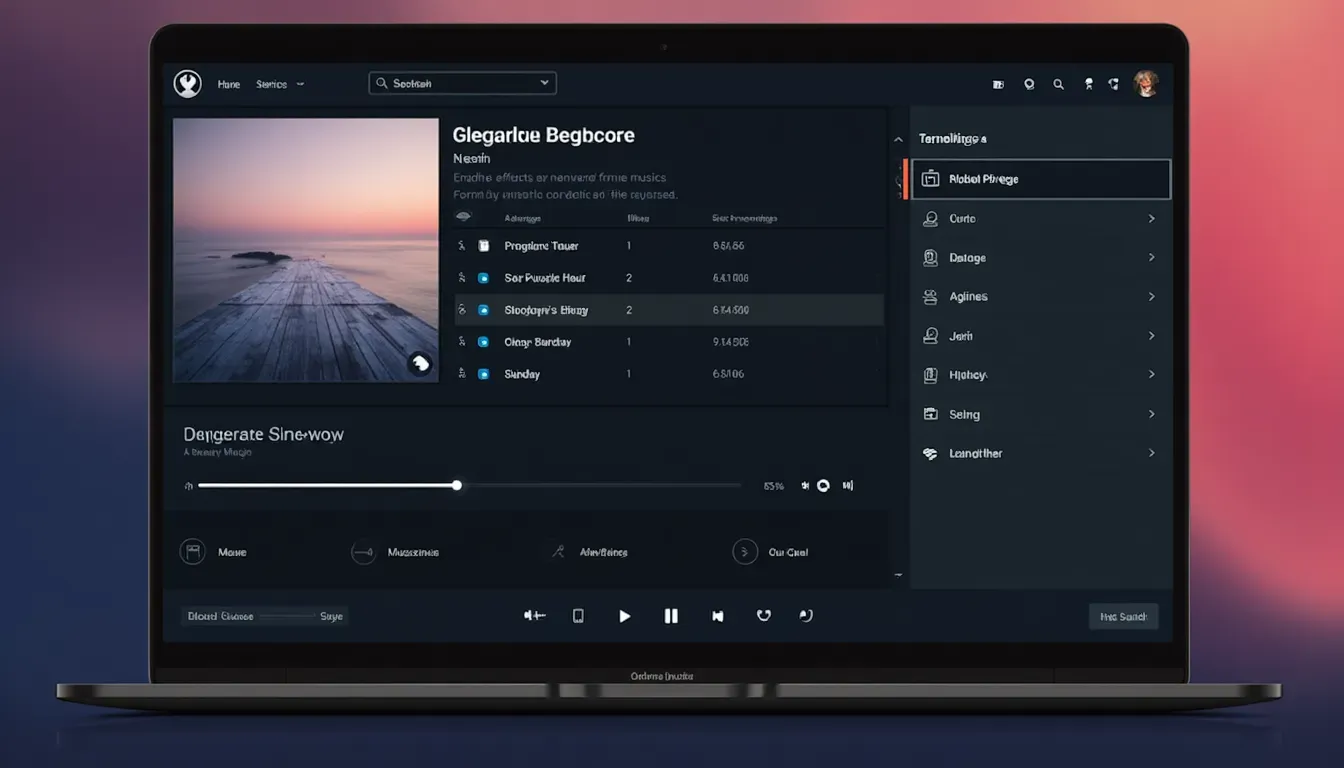
Building a basic music player is great, but staying up-to-date with the latest trends can make your player even better. Here are some cool new things happening in web music players:
- Using Web Frameworks: Modern frameworks like React , Vue , and Angular offer advanced features that can make your music player more dynamic and easier to manage.
- Making It Work on Mobile: With so many people using phones to browse the web, making sure your music player works well on small screens is super important.
- Progressive Web Apps (PWAs): Turning your music player into a PWA lets users install it on their devices, use it offline, and get notifications.
- Cool Animations: Using CSS animations and JavaScript libraries can make your player more interactive and fun to use.
- Cloud Integration: Using cloud services like Firebase or AWS can help you manage data better, update in real-time, and handle lots of music and users.
- Making It Accessible: Ensuring your music player can be used by everyone, including people with disabilities, is not only the right thing to do but also helps more people enjoy your player.
Making Your Player User-Friendly
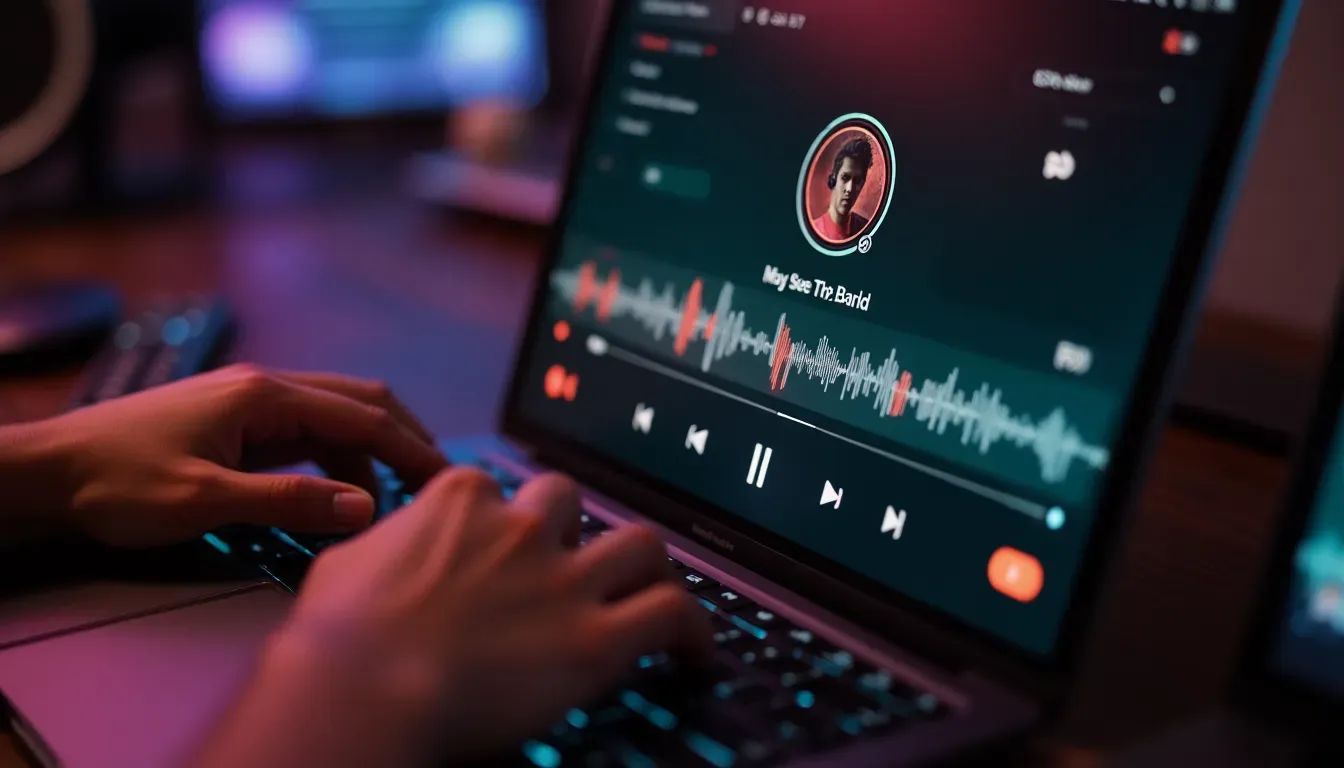
A music player isn't just about working correctly; it's about creating an enjoyable experience for the user. Here are some tips to make your player more user-friendly:
- Keep It Simple: Design your player so it's easy to understand and use.
- Visual Feedback: Show users what's happening when they interact with the player.
- Fast Loading: Make sure your player loads quickly to keep users happy.
- Easy-to-Use Controls: Design controls that work well on both computers and phones.
- Keyboard Shortcuts: Add keyboard controls for people who prefer using keyboards.
- Personalization: Let users customize things like themes or playlists.
- Easy Playlist Management: Make it simple for users to create and manage playlists.
- Consistent Design: Keep your colors, fonts, and icons consistent throughout the player.
Keeping an Eye on Performance
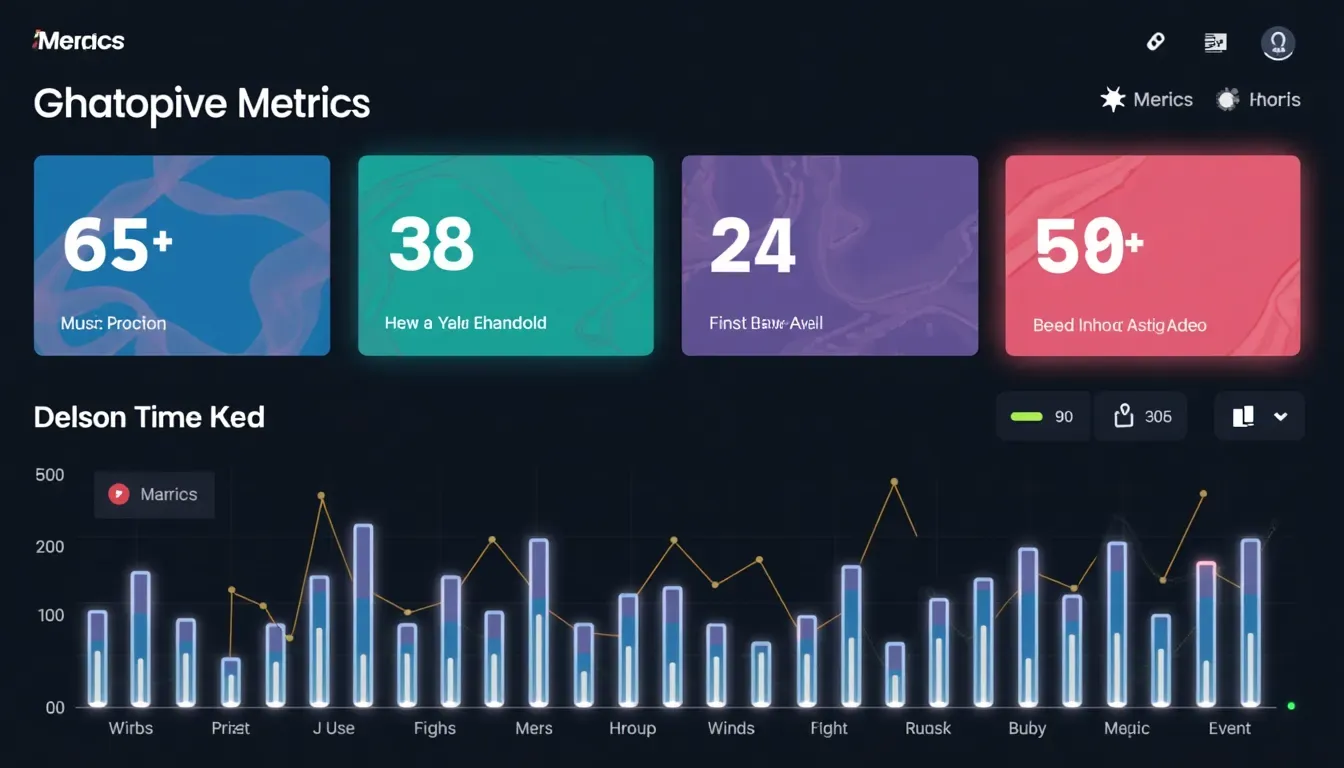
Making sure your music player runs smoothly is super important. Here are some things to keep track of:
- Load Time: How quickly does your player load?
- Smooth Playback: Does the music play without interruptions?
- Resource Use: How much computer power is your player using?
- Error Rates: Are there any problems with playback or controls?
- User Interaction: How are people using your player?
- Accessibility: Does your player meet accessibility standards?
- Browser Compatibility: Does it work well on different web browsers?
- Mobile Responsiveness: How does it perform on different mobile devices?
Helpful Tools and Resources
Building a web music player can be tricky, but there are lots of tools and resources to help you out:
- Development Tools: Visual Studio Code for coding, GitHub for version control.
- Libraries and Frameworks: Howler.js for audio handling, React Player for React apps, Bootstrap for styling.
- Design Tools: Figma or Adobe XD for designing the look of your player.
- API Services: Spotify Web API or Apple Music API for accessing music libraries.
- Tutorials and Docs: MDN Web Docs , W3Schools , and YouTube tutorials.
- Testing Tools: BrowserStack for testing on different devices, Lighthouse for performance checks.
- Audio Resources: FreeSound and CC Mixter for free music and sound effects.
Wrapping It Up
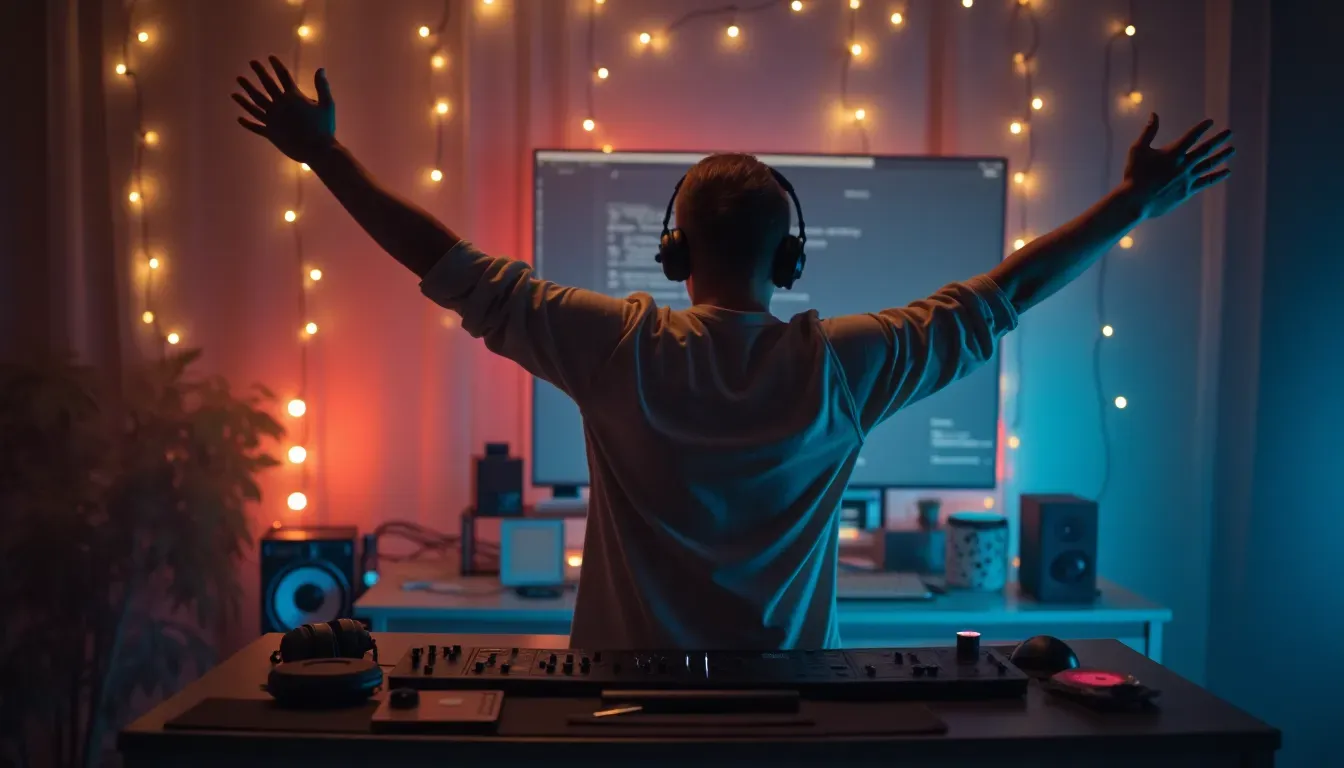
Creating an HTML Web Music Player is more than just a fun project; it's a great way to improve your web development skills and create something people will enjoy using. From understanding the basics to adding cool features and making sure it runs smoothly, each step teaches you something valuable.
Remember, the key to a great music player is balancing how it works with how it looks. Keep up with new trends, focus on making it easy to use, and always try to improve based on how it performs and what users say.
So, what are you waiting for? Jump into web development and create a music player that not only plays music but also shows off your style and creativity. Happy coding!
Related Articles
- How to Convert Images to HTML and CSS Code Using AI Tools - Expands on converting visual designs into code.
- Top 10 Tools for Converting Images to Responsive HTML and CSS Code - Lists tools that can assist in building responsive music players.
- How to Build Responsive Websites from Images - Guides on ensuring your music player works well on all devices.