Table of Contents
- Introduction
- Understanding HTML Tables
- Step-by-Step Guide to Creating a Two-Column Table
- Enhancing Your Table with CSS
- Making Your Table Responsive
- Best Practices for HTML Tables
- Common Mistakes to Avoid
- Tools to Simplify Table Creation
- Frequently Asked Questions (FAQ)
- Conclusion
Introduction
Hey there! So, you wanna learn how to make a two-column table in HTML, huh? Whether you're building a blog, a business website, or just messing around with web stuff for fun, tables are super useful for organizing info.
Let's be real - if you've ever stared at a blank HTML page wondering where to start, you're not alone! Making tables might seem tricky at first, but once you get the hang of it, you'll wonder how you ever managed without 'em!
In this guide, we'll walk you through everything you need to know about creating a two-column table in HTML. From the basics to some fancy styling tricks, we've got you covered. Plus, we'll introduce you to some cool tools, like Img2html , that can save you tons of time by turning images into HTML & CSS code in a snap.
Ready to turn your data into a neat, organized table? Let's dive in!
Understanding HTML Tables
Before we jump into making a two-column table, let's get the basics down. Think of an HTML table as a grid that organizes data into rows and columns, kinda like an Excel spreadsheet.
Basic Elements of an HTML Table
- <table> : The container element that defines the table.
- <tr> - Table Row: Defines a row in the table.
- <th> - Table Header: Defines a header cell in the table, usually bold and centered.
- <td> - Table Data: Defines a standard data cell in the table.
The Anatomy of a Table
Here's a simple visual:
<table>
  <tr>
    <th>Header 1</th>
    <th>Header 2</th>
  </tr>
  <tr>
    <td>Data 1</td>
    <td>Data 2</td>
  </tr>
</table>
This code creates a table with one header row and one data row, each with two columns.
Why Use Tables?
Tables are great for showing:
- Pricing plans
- Schedules
- Comparison charts
- Forms
- Any data that looks better in a grid
But remember, with great power comes great responsibility. It's important to use tables the right way to keep your website easy to use and accessible.
Step-by-Step Guide to Creating a Two-Column Table
Alright, let's roll up our sleeves and get our hands dirty with some actual code. We'll build a simple two-column table step by step.
Step 1: Setting Up the HTML Document
First things first, make sure you've got a basic HTML document set up. Here's a simple template:
<!DOCTYPE html>
<html lang="en">
<head>
  <meta charset="UTF-8">
  <title>Two-Column Table Example</title>
</head>
<body>

</body>
</html>
Step 2: Creating the Table Structure
Now, let's add a basic table with two columns.
<body>
  <table border="1">
    <tr>
      <th>Header 1</th>
      <th>Header 2</th>
    </tr>
    <tr>
      <td>Row 1, Column 1</td>
      <td>Row 1, Column 2</td>
    </tr>
    <tr>
      <td>Row 2, Column 1</td>
      <td>Row 2, Column 2</td>
    </tr>
  </table>
</body>
What's going on here:
-
<table border="1">: Makes a table with a border. Theborderattribute is a quick way to see the table, but we'll use CSS later for better styling. -
<tr>: Defines a table row. -
<th>: Defines a header cell in a row. -
<td>: Defines a regular data cell in a row.
Step 3: Cleaning Up the Table
Let's make the code a bit neater by removing the
border
attribute and adding some structure.
<body>
  <table>
    <thead>
      <tr>
        <th>Name</th>
        <th>Email</th>
      </tr>
    </thead>
    <tbody>
      <tr>
        <td>Jane Doe</td>
        <td>[email protected]</td>
      </tr>
      <tr>
        <td>John Smith</td>
        <td>[email protected]</td>
      </tr>
    </tbody>
  </table>
</body>
What's new:
-
<thead>: Groups the header content in a table. -
<tbody>: Groups the body content in a table. - We've replaced generic headers and data with more meaningful content.
Step 4: Adding a Caption (Optional)
A caption gives your table a title, making it easier to understand.
<table>
  <caption>Contact List</caption>
  <thead>
    <tr>
      <th>Name</th>
      <th>Email</th>
    </tr>
  </thead>
  <tbody>
    <tr>
      <td>Jane Doe</td>
      <td>[email protected]</td>
    </tr>
    <tr>
      <td>John Smith</td>
      <td>[email protected]</td>
    </tr>
  </tbody>
</table>
Final HTML Code
Putting it all together, here's the complete HTML for a two-column table:
<!DOCTYPE html>
<html lang="en">
<head>
  <meta charset="UTF-8">
  <title>Two-Column Table Example</title>
  <style>
    table {
      width: 50%;
      border-collapse: collapse;
      margin: 20px 0;
    }
    th, td {
      border: 1px solid #dddddd;
      text-align: left;
      padding: 8px;
    }
    th {
      background-color: #f2f2f2;
    }
    caption {
      caption-side: top;
      font-weight: bold;
      font-size: 1.2em;
      margin-bottom: 10px;
    }
  </style>
</head>
<body>
  <table>
    <caption>Contact List</caption>
    <thead>
      <tr>
        <th>Name</th>
        <th>Email</th>
      </tr>
    </thead>
    <tbody>
      <tr>
        <td>Jane Doe</td>
        <td>[email protected]</td>
      </tr>
      <tr>
        <td>John Smith</td>
        <td>[email protected]</td>
      </tr>
    </tbody>
  </table>
</body>
</html>
Preview:
| Name | |
|---|---|
| Jane Doe | [email protected] |
| John Smith | [email protected] |
Tips:
-
Semantic HTML
: Using
thead,tbody, andcaptionmakes your table more meaningful and easier for screen readers to understand. -
Accessibility
: Always use clear headers and think about using the
scopeattribute to help screen readers even more.
Enhancing Your Table with CSS
Now that we've got a basic table up and running, let's make it look better with some CSS.
Styling the Table Borders
Let's make the table borders look nicer:
table {
  border-collapse: collapse;
  width: 50%;
}

th, td {
  border: 1px solid #dddddd;
  padding: 8px;
}
What this does:
-
border-collapse: collapse;: Makes the borders touch each other instead of having spaces between them. -
border: 1px solid #dddddd;: Adds a light gray border to each cell. -
padding: 8px;: Adds some space inside the cells so the text isn't squished against the borders.
Adding Background Colors
Different background colors can help tell the header row apart from the data rows:
th {
  background-color: #f2f2f2;
}
Hover Effects
Adding hover effects can make your table more interactive:
tbody tr:hover {
  background-color: #f1f1f1;
}
Zebra Striping
Zebra striping makes your table easier to read by alternating row colors:
tbody tr:nth-child(even) {
  background-color: #f9f9f9;
}
Font Styling
Adjusting font styles can make your table content look nicer:
table {
  font-family: Arial, sans-serif;
  font-size: 14px;
}
Complete CSS Example
Here's how all these styles come together:
table {
  width: 50%;
  border-collapse: collapse;
  margin: 20px 0;
  font-family: Arial, sans-serif;
  font-size: 14px;
}

th, td {
  border: 1px solid #dddddd;
  padding: 8px;
}

th {
  background-color: #f2f2f2;
  text-align: center;
}

tbody tr:nth-child(even) {
  background-color: #f9f9f9;
}

tbody tr:hover {
  background-color: #f1f1f1;
}

caption {
  caption-side: top;
  font-weight: bold;
  font-size: 1.2em;
  margin-bottom: 10px;
}
Resulting Table
With this CSS, your table will look sleek and professional:
| Name | |
|---|---|
| Jane Doe | [email protected] |
| John Smith | [email protected] |
Making Your Table Responsive
These days, people use all kinds of devices to browse the web. So, it's important to make sure your tables look good on all screen sizes. Here's how to make your two-column table responsive:
Using CSS Media Queries
Media queries let you apply different styles based on the device's screen size:
@media screen and (max-width: 600px) {
  table {
    width: 100%;
  }
  th, td {
    display: block;
    width: 100%;
  }
  th {
    text-align: left;
  }
}
What's happening here:
-
@media screen and (max-width: 600px): This targets devices with a screen width of 600px or less. -
display: block;: Makes each table cell display as a block element, stacking them vertically. -
width: 100%;: Makes sure the table and cells take up the full width of the screen.
Another Way: Responsive Table Wrappers
Another trick is to wrap the table in a container that lets you scroll horizontally on smaller screens:
<div class="table-responsive">
  <table>

  </table>
</div>
.table-responsive {
  overflow-x: auto;
}
What this does:
-
overflow-x: auto;: Adds a horizontal scrollbar if the table is wider than its container. - This keeps the table structure the same on smaller screens, letting users scroll sideways to see all the content.
Using Flexbox
While tables themselves aren't flex containers, you can use CSS Flexbox to create more flexible table-like layouts when needed. But for regular tables, media queries and responsive wrappers are usually simpler.
Best Practices for Responsive Tables
- Keep It Simple : Don't cram too much info into your tables.
- Use Scrollbars Wisely : Scrollbars can help, but they might not be great for mobile users.
- Think About Other Layouts : For really complex data, you might want to use lists or other layouts instead of tables on mobile.
Best Practices for HTML Tables
Making tables isn't just about making them look good; it's also about making sure they're easy to use and understand for everyone. Here are some tips to keep in mind:
1. Use Semantic HTML
Using the right HTML elements helps make your table more meaningful:
- <table> : Defines the table.
- <thead> : Groups the header content.
- <tbody> : Groups the body content.
- <tfoot> : (Optional) Groups the footer content.
- <tr> : Defines a table row.
- <th> and <td> : Define header and data cells.
2. Make It Accessible
Making your tables accessible means everyone, including people using screen readers, can use them:
- Use <caption> : Gives your table a title.
- Use <th> for Headers : Clearly shows which cells are headers.
-
Scope Attribute
: Use
scope="col"orscope="row"to say if a header cell is for a column or a row.
<th scope="col">Name</th>
<th scope="col">Email</th>
3. Keep It Simple
- Don't Use Too Many Columns : Too many columns can make tables hard to read, especially on small screens.
- Avoid Nested Tables : Tables inside tables can be confusing and hard for screen readers to understand.
4. Use CSS for Styling
Keep your content separate from how it looks by using CSS. Don't use inline styles or old attributes like
border
.
5. Make It Fast
- Don't Make It Too Big : Big tables can slow down your webpage. Use pagination or lazy loading for lots of data.
- Use Good CSS Selectors : Choose your CSS selectors wisely to make sure your page loads quickly.
6. Test It Everywhere
Make sure your table looks and works the same on different browsers (Chrome, Firefox, Safari, Edge) and devices (desktop, tablet, mobile).
7. Use Clear Data
- Clear Headers : Use headers that clearly describe what's in each column.
- Consistent Formatting : Make sure all your data is formatted the same way so it's easy to read and compare.
8. Add Sorting and Filtering (If You're Feeling Fancy)
For interactive tables, you might want to add sorting and filtering. Libraries like DataTables can help with this.
9. Use Tools to Help
Speaking of tools, using AI-powered tools like Img2html can really speed up your table-making process. It can turn images of tables into HTML and CSS code, which is super handy for complex designs or when you want your table to look exactly like a specific design.
Common Mistakes to Avoid
Even though making tables might seem easy, there are some common mistakes that can mess up how your table works or how accessible it is. Let's look at some of these pitfalls and how to avoid them.
1. Forgetting Table Sections
Not using
<thead>
,
<tbody>
, or
<tfoot>
can make your table less meaningful and harder to style or work with using scripts.
Mistake:
<table>
  <tr>
    <th>Name</th>
    <th>Email</th>
  </tr>
  <tr>
    <td>Jane Doe</td>
    <td>[email protected]</td>
  </tr>
</table>
Better Way:
<table>
  <thead>
    <tr>
      <th>Name</th>
      <th>Email</th>
    </tr>
  </thead>
  <tbody>
    <tr>
      <td>Jane Doe</td>
      <td>[email protected]</td>
    </tr>
  </tbody>
</table>
2. Using <th> for Everything
Only header cells should use
<th>
. Using
<th>
for data cells can confuse screen readers.
Mistake:
<table>
  <tr>
    <th>Jane Doe</th>
    <th>[email protected]</th>
  </tr>
</table>
Better Way:
<table>
  <thead>
    <tr>
      <th>Name</th>
      <th>Email</th>
    </tr>
  </thead>
  <tbody>
    <tr>
      <td>Jane Doe</td>
      <td>[email protected]</td>
    </tr>
  </tbody>
</table>
3. Making Tables Too Complicated
Using too many rows or columns can make tables messy and hard to read.
Tip: Keep tables as simple as you can. If you have too much data, think about breaking it into multiple tables or using a different layout.
4. Forgetting About Mobile Users
Tables that look great on a computer might look terrible on a phone. Always make sure your tables work on small screens too.
Mistake:
Forgetting to add styles for small screens, which can lead to tables that are too wide or hard to read on phones.
Better Way:
Use responsive techniques like media queries or responsive wrappers as we talked about earlier.
5. Using Inline Styles
Putting styles directly in your HTML can make your code messy and hard to update.
Mistake:
<table>
  <tr style="background-color: #f2f2f2;">
    <th style="padding: 10px;">Name</th>
    <th style="padding: 10px;">Email</th>
  </tr>
</table>
Better Way:
<style>
th {
  padding: 10px;
  background-color: #f2f2f2;
}
</style>
6. Not Making Tables Accessible
Forgetting about accessibility features can make your tables unusable for people with disabilities.
- Use the right HTML elements.
- Add clear captions.
-
Use the
scopeattribute. - Make sure there's enough color contrast.
7. Not Checking Your HTML
Invalid HTML can cause problems in different browsers.
Tip: Always check your HTML using tools like W3C Validator to find and fix errors.
Tools to Simplify Table Creation
Making tables by hand is fine for simple stuff, but as tables get more complex, using tools can save time and help avoid mistakes. Let's look at some tools and how Img2html can make your work a lot easier.
1. HTML Table Generators
There are lots of online tools that let you visually create tables and get the HTML code for them.
- TablesGenerator.com : A user-friendly tool to design tables, get the HTML, and see changes in real-time.
- W3Schools Online HTML Table Generator : A simple place to try out HTML tables.
2. CSS Frameworks
Frameworks like Bootstrap and Tailwind CSS have pre-made table styles and responsive tools, making it easier to create good-looking tables without starting from scratch.
Example with Bootstrap:
<table class="table table-striped">
  <thead>
    <tr>
      <th>Name</th>
      <th>Email</th>
    </tr>
  </thead>
  <tbody>
    <tr>
      <td>Jane Doe</td>
      <td>[email protected]</td>
    </tr>
    <tr>
      <td>John Smith</td>
      <td>[email protected]</td>
    </tr>
  </tbody>
</table>
What's good about this:
- Consistent Look : All your tables will look the same.
- Works on All Devices : Built-in classes handle responsiveness.
- Easy to Customize : You can easily change the default styles with your own CSS.
3. Spreadsheet Tools
Creating tables in Excel or Google Sheets and then exporting them as HTML can be a quick way to make large or complex tables.
Tip: Be careful though, as exported HTML might include extra styles you don't need. It's often better to use spreadsheets to organize your data and then code the table structure yourself.
4. Img2html: AI-Powered Image to Code Conversion
Img2html Conversion
Convert your table designs from images to HTML & CSS effortlessly.
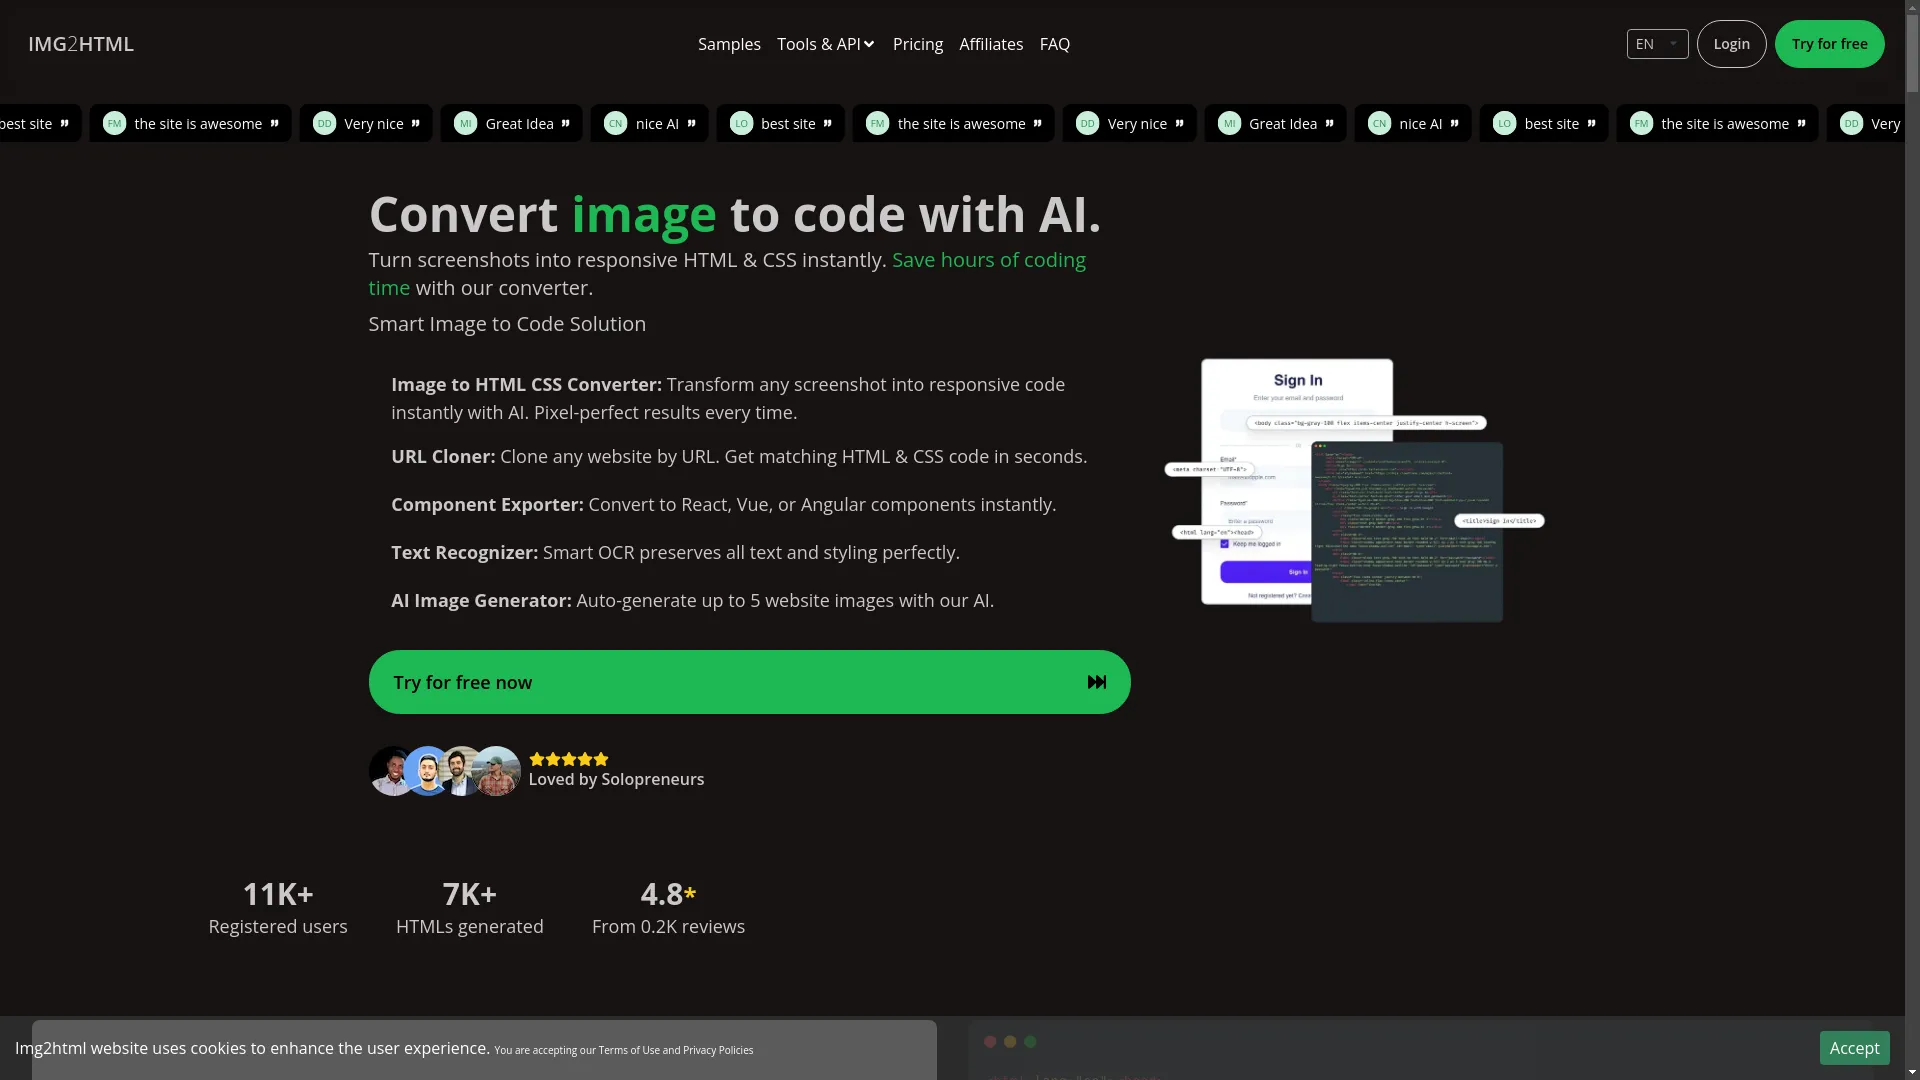
Img2html is a cool tool that uses AI to turn images of tables into clean HTML and CSS code. This can be a game-changer, especially for complex table designs or when you want your table to look exactly like a specific design.
How It Works:
- Upload an Image: Upload a screenshot or picture of your table design.
- AI Does Its Thing: Img2html's AI looks at the image and creates the HTML and CSS code.
- Get Your Code: Download the code and use it in your project.
Why It's Great:
- Saves Time: No need to manually code every cell and style.
- Super Accurate: The generated code matches the original design really well.
- Works on All Devices: Automatically includes features to make sure your table looks good on phones, tablets, and computers.
**Example:**
Imagine you have a screenshot of a really nice table design. Instead of coding each cell by hand, you could use Img2html's AI to turn that image into clean, responsive HTML and CSS, saving you hours of work.
You can try this feature yourself at Img2html .
Personal Story:
I love finding ways to work smarter, not harder. I tried Img2html for a project where I needed to copy a complex table design from a mockup. It was amazing! The tool not only made clean HTML and CSS but also made sure the table worked on all devices. It saved me hours of coding and tweaking—the perfect mix of creativity and efficiency.
How to Use Img2html:
- Go to Img2html : Visit the Img2html website.
- Upload Your Image: Click the upload button and choose your table image.
- Convert: Let the AI do its magic.
- Get Your Code: Once it's done, download the HTML and CSS files.
- Use It: Put the code in your project and make any small changes you need.
Wrapping Up:
Whether you're a pro developer or just starting out, tools like Img2html can make your work easier and help you create awesome tables without all the hassle. Give it a try and see how it changes the way you work!
Frequently Asked Questions (FAQ)
1. How can I try it?
If you're talking about Img2html, just head to their website and sign up for a free trial to test out how it turns images into code.
2. How long do credits last?
Credits usually last for a certain time based on what the service provider says. For Img2html, unused credits often carry over as long as you keep your subscription.
3. What payment methods can I use?
Most online tools take different payment methods, like credit/debit cards, PayPal, and sometimes bank transfers. Check the tool's billing page for the details.
4. Do you offer refunds?
Refund policies are different for each service. For Img2html, it's best to look at their terms of service or ask their support team about refunds.
5. What do I get when I buy credits?
Credits are usually used to do specific things in the tool, like turning images into HTML. For Img2html, each image-to-HTML conversion might use up a certain number of credits.
6. How does the credit system work?
You buy a bunch of credits, and each action (like converting an image) uses up a set number of credits from your account.
7. Is it better to buy more credits at once?
Often, buying more credits at once gives you a better price per credit, which is good if you use the tool a lot.
8. How can I keep track of my credits?
Most tools have a dashboard on their website where you can see how many credits you've used and what you've bought.
9. Is it safe to pay?
Good tools like Img2html use secure ways to handle payments and keep your financial info safe.
10. Can I get any free credits?
Many services give you free credits when you sign up or during special offers. Check the tool's website to see if they have any deals.
11. How do I turn an image into HTML using IMG2HTML?
Upload your image on the Img2html website, start the conversion, and then download the HTML and CSS code it creates.
12. What happens if I run out of credits?
You'll usually need to buy more credits to keep using the service. Some tools might let you use a limited version for free or ask you to subscribe.
13. Where are my credits?
Your credits are managed in your account dashboard on the service provider's website.
Image to Code Converter AI
Using AI to turn any image into HTML & CSS code instantly is a big deal for web developers. Img2html is a powerful AI tool that can convert images to code, and it works with Tailwind CSS, React, Vue, and Angular.
Why Use AI for Image to Code Conversion?
- It's Fast: Turn designs into code in seconds.
- It's Accurate: Get pixel-perfect results every time.
- It Saves Time: No more hours of manual coding.
- It's Flexible: Works with different frameworks and libraries.
How Img2html Makes Your Work Easier
- Drag and Drop: Just drag an image file into the tool.
- URL Cloning: Copy entire websites by URL, getting matching HTML & CSS code instantly.
- Component Exporter: Turn designs into React, Vue, or Angular components easily.
- Smart OCR: Accurately copy all text and styling from images.
Convert Image to HTML Code Automatically
Say goodbye to coding everything by hand and let AI do the work. Whether you're a designer with a mockup or a developer looking to work faster, Img2html 's automatic image-to-HTML conversion is super helpful.
How to Automatically Convert an Image to HTML
- Upload Your Image: Easily upload your design or screenshot.
- Let AI Do Its Thing: Img2html looks at the image and turns it into HTML and CSS.
- Check and Use: Look over the generated code and add it to your project.
Why It's Great:
- Saves Time: Hugely reduces the time it takes to make clean, working code.
- Keeps Things Consistent: Makes sure different parts of your project look the same.
- Easy to Use: You don't need to know a lot about coding; just upload and convert.
Image to Website AI Converter
Img2html 's AI doesn't just do tables or small parts—it can turn entire website screenshots into working HTML and CSS code. This is really useful for developers who want to copy or improve existing websites.
When You Might Use It:
- Copying a Website: Quickly recreate a site's layout and design.
- Making Prototypes: Turn your design ideas into working prototypes.
- Studying Competitors: Look at other websites and adapt their features for your own.
How to Do It:
- Take a Screenshot: Grab a picture of the website you want to copy.
- Upload to Img2html: Use the URL Cloner feature or upload the screenshot.
- Get the Code: Let the AI turn the screenshot into responsive HTML and CSS.
- Make It Your Own: Use the generated code in your project and tweak it as needed.
Professional Image to Code AI Solution
For web development pros, Img2html offers an advanced tool that fits right into your workflow, making sure your designs become working code with minimal effort.
Cool Features:
- Works with Tailwind CSS: Use Tailwind CSS for stylish, responsive designs.
- Supports Popular Frameworks: Works with React, Vue, and Angular, so it's useful for lots of different projects.
- API Access: Automate your conversion process with Img2html's powerful API.
- Component Exporting: Easily turn designs into reusable components for modern frameworks.
Why Choose Img2html?
- Super Accurate: Gets 99.9% code accuracy, so your designs look just right.
- Really Fast: Converts up to 5 times faster than other tools.
- Clean Code: Gives you 30% cleaner code, so you don't have to fix as much.
- Works on All Devices: Makes sure your tables and other parts look good on phones, tablets, and computers.
AI HTML Code Generator from Images
Experience the future of web development with Img2html 's AI-powered HTML code generator. Whether you're just starting out or you're a pro looking to work faster, this tool is designed to help you out.
Why It's Great:
- Easy to Use: A simple platform that makes converting images to code super easy.
- Works with Different Frameworks: Creates code that works with various frameworks and libraries.
- Customizable: You can adjust the generated code to fit exactly what you need for your project.
Real-World Example:
Imagine you've drawn a design by hand or made a mockup in Photoshop. Instead of coding each part manually, you could just upload the image to Img2html and get a working, responsive HTML & CSS table in seconds.
Easy Image to HTML CSS Conversion
Turning images into HTML doesn't have to be hard. With Img2html , you can change your visual designs into code easily, even if you're not a coding expert.
How to Do It:
- Get Your Image Ready: Make sure your table or design is clear and well-organized.
- Upload It: Use Img2html's simple interface to upload your image.
- Look Over the Code: Check the HTML and CSS code it gives you and make any small changes.
- Use It in Your Project: Add the code to your website or app.
Tips for Better Results:
- Use Clear Images: Higher quality images give you more accurate code.
- Keep It Simple: Make sure the table in your image has a clear structure.
- Use Consistent Styles: Using the same fonts and colors throughout helps the AI generate better code.
Transform Images to Code with AI
Use the power of AI to turn your visual ideas into real, working code. Img2html 's advanced AI technology makes sure your images are turned into clean, functional HTML and CSS code quickly and accurately.
Why It's Awesome:
- It's Efficient: Spend less time on manual coding.
- It's Accurate: Get results that look just like your original design.
- It's Scalable: Easily convert multiple images or complex designs.
Success Story:
Alexander Gonzalez, a teacher, shared his experience: "As a teacher, being able to create learning materials from pictures is fantastic! I can create a prototype picture of my content and use IMG2HTML to bring it to life, saving me hours of coding time. IMG2HTML is awesome!"
AI HTML Code Generator from Image
With Img2html , turning any image into HTML code is super easy. Whether you're dealing with a simple table, a complex layout, or an entire webpage design, this AI tool handles it all without breaking a sweat.
Key Features:
- Pixel-Perfect Conversion: Makes sure every tiny detail of your image is accurately represented in the code.
- Responsive Design: Automatically includes features to make it look good on all devices.
- Works with Popular Frameworks: Supports modern frameworks like React, Vue, and Angular right out of the box.
Image to Website Converter
Img2html 's Image to Website Converter takes your designs and turns them into fully working websites without you having to do a ton of manual coding.
How It Works:
- Design Your Website: Use any design tool or create a mockup.
- Upload to Img2html: Convert the design image into HTML and CSS.
- Customize and Use: Use the generated code as a starting point and add your own special touches.
Why It's Great:
- It's Fast: Make a complete website in minutes.
- It's Simple: You don't need to be a coding expert; just upload and convert.